In my local group of Team Yankee in 6mm scale, we have come to realize that even playing a tabletop wargame at a much smaller scale and even halving the majority of distances (we halve everything except weapon ranges, basically), playing on anything less than a full 6 foot by 4 foot surface becomes more and more of a problem the higher the points values go up. Why yes, I do like long, complicated run-on sentences to open my posts, why do you ask? The discussion in the group has been how we can solve this issue. We currently play at a friend's comic book shop, because we like giving him the foot traffic and we like chatting with him as he used to play wargames with us. Unfortunately, his needs lean towards either purpose built comic bins or plain tables that can hold boxes full of comics. Which is what we have been playing on, the folding tables that is, which are not 100% unusable, but not quite as good as a table built specifically to play wargames on. First off is the size, your standard folding table is six feet (in the middle, it has rounded corners so it's less than six feet at the corners, minor complaint) by 29 inches (more than a foot shy of what you really need, major complaint). Next is height, as folding tables are only about 30 inches high - for a game you play standing up, this is too low for your needs, and us old, broken bastards always have sore backs the day after a game. Third is size again - there is never any extra room to put books, roll dice, keep your Reserves/Ambushers/dead guys, keep your tokens and templates, and so on. If we're splurging and getting something specifically for us, it has to have a big enough play surface, plus extra room, plus be tall enough we don't have to bend, and also be strong enough to hold many boxes of comic books. Yes, this will not be a teardown that goes home with one of us every month, so it has to be sturdy enough to serve as a comic display rack in the store in between games.
From there, our options were buy a bespoke, handcrafted lovely bit of furniture from somewhere like from... wow. More than a decade ago, someone started a little business making nothing but gaming tables, and that business was called Geek Chic. I say "was" because they went out of business and are no more. In their place, however, has sprung up multiple companies that make game tables that would suffice for our wants... but we ain't made of money (one of the reasons we play in 6mm scale is it's much cheaper), so we couldn't afford that. Instead, we'd have to build one to fit our needs. I learned a long time ago (particularly from playing paintball) that if I waited for everyone (anyone, really) that expressed a desire to join in with [insert hobby here] before doing it, I would never do that hobby ever again. With hobbies in modern society,, your best bet is to jump into them, play with whoever is doing it and drag anybkdy who will stand still long enough along with you. I've learned that I can't be scared to try new things and that it's okay to mess up every once in a while. While I am not a YouTube carpenter who has a fully stocked shop of tools and years upon years of experience, I have just enough tools, a Harbor Freight local to me, and a stubborn streak wide enough to do the things I want to do. Yep, I offered to build a table for the group.
Now, caveats to this whole endeavor - I will show you my plans and the results, but like I said, I am not a fancy carpenter. My plan (which you will find below) barely makes sense to me and I am the one who drew it. I made a few mistakes while making this, hence why this is labeled a Lessons Learned post, and yes, I will share my personal struggles with this table. However, in the end, I still have a table me and my friends can play on, it's not glaringly obvious I did an awful job (I did not do an awful job... it could definitely have been prettier, though), and it's definitely not about to fall apart. Before you take on a carpentry project of your own, go watch all those YT carpentry stars, find a better set of plans than mine, and practice on making other, smaller, more private items for your own house before you make a huge table that is going to reside in a public store... and write a post on the internet about how much you suck at this. Don't worry though, as one of my favorite internet personalities likes to say, "I'm an idiot and so can you!"
To take care of two off the list of our wants, I immediately knew I wanted the table surface to be a 4x8 sheet of plywood. Yes, a solid board measuring 4 feet by 8 feet would be excellent, but they don't sell solid wood boards in that size, your options are build it out of multiple boards and then plane them into uniformity, then glue and screw them all together to make your desired table surface. Or be a cheap bastard like me and go for a composite - MDF and particle board are less expensive options but good old plywood is only a little bit more expensive and will last so much longer than the other two. The four foot by eight foot surface will give give us our requisite playing surface plus two extra one by eight feet sections to put books on, roll dice, store tokens, etc. Again, this table will also have a bunch of comic long boxes on it in between games, so I can't go super cheap and purchase quarter inch plywood. I was leery of trusting half inch, so I went for 3/4 inch oak plywood, by far the most expensive piece of lumber in this build.
 |
| I never claimed to be a draftsmen, nor have good handwriting. None of this is to scale. |
 |
| The important bit is in the upper left hand corner, the layout of legs and braces for my under shelf. Ignore the maths, that was just me making sure I had correct measurements and didn't miss something. |
As you can see above the plan is very basic - 4x4s for the upright legs, 2x4s just below the table surface around the entire perimeter of the tabletop and then another set of 2x4s in a matching layout below that to tie it all together. A 4x8 sheet of plywood, three-quarters of an inch thick for weight and durability makes the top, and then I found adjustable table feet that claim to support up to 330 pounds apiece. If I only had 4 legs, a four pack of the feet would suffice, but I have six legs, and the next pack up has eight feet, so the middle pair get two each and the end legs get just one. This gives us extra height if we want it, and we can adjust them individually to make the table sit level on uneven surfaces. The cuts are very basic, cutting the three 4x4s into 6 equal lengths - as stated earlier, we wanted higher than a sit down table, so after some measuring of other available tables, we decided about 39 inches high would be ideal, so these legs are cut taking 3/4" worth of the plywood on top, plus another inch worth of adjustable foot, and that gives us 37 and a quarter inches of leg length. As for the 2x4s, the four on the long sides don't need to be cut at all, they're already good at eight feet long. You do need to cut four other 2x4s into lengths that will fit between the outer, long length 2x4s - four at the ends of the table, and then four as crossbracing underneath the table surface and down on the lower level for strength. You can't just cut them 48 inches long, though, you have to account for the thickness of the two ends of 2x4s as the short pieces will fit inside the long length 2x4s. Forty-eight minus the width of your 2x4s (usually around one and a half inches, mine were one and 7/16", and two times that gives us two and 7/8") gives us 45 and an eighth inches. Last, your 1x2 furring strips - two of them will go up the sides of the table edge, the long edges, so they can be left at eight feet long. The short edge lengths, opposite of your 2x4s, will overlap the long edge pieces. Why did we flip here? The 2x4s are inside the perimeter of the plywood top, but the 1x2s are outside the perimeter. What are the furring strips for? to finish off the edge of the plywood, always the roughest edge of any chunk of plywood, but also to provide a lip to help contain dice as they bounce around on the tabletop.
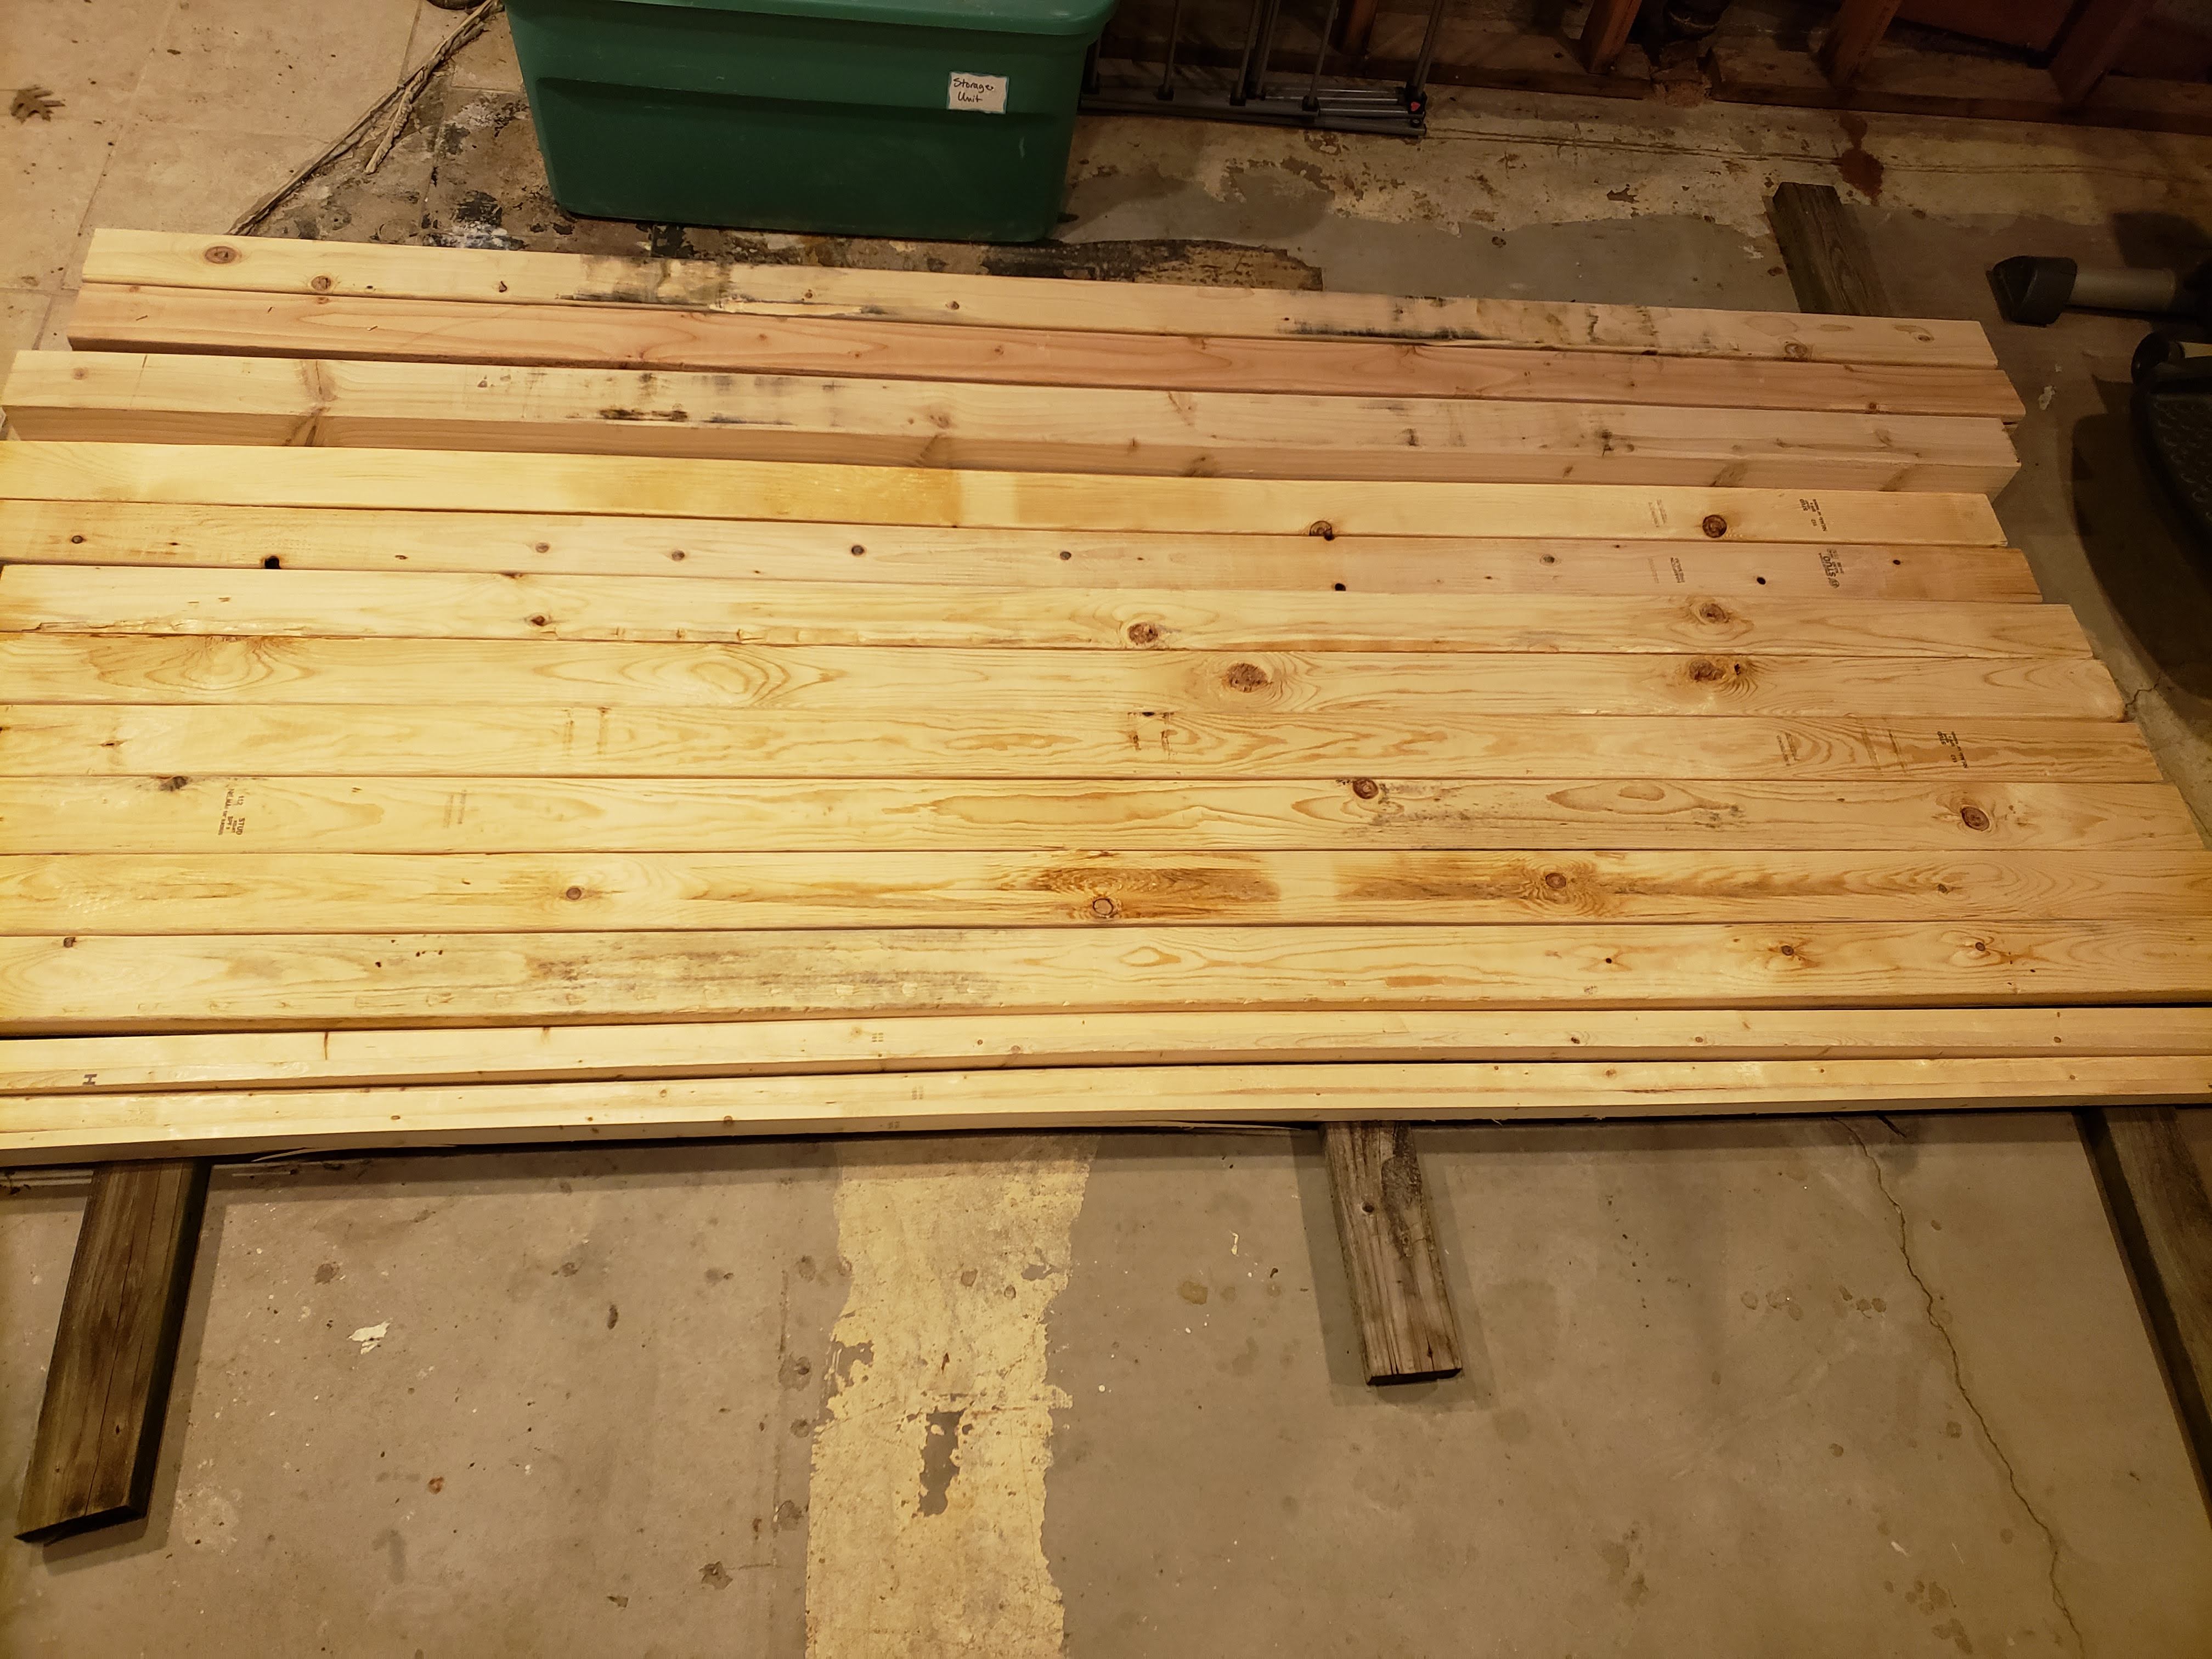 |
| All my lumber (minus the tabletop, shelf, and another 2x4 purchased later) |
 |
| Putting one side of legs together. Every joint is glued and screwed together with Torx head deck screws. |
I had a plan, I had the lumber and then I realized several things - unless we were going to switch our games to my basement (where most of my carpentry tools reside) I was never going to get the table out of the basement if I fully assembled it there; okay, I'll build it in my garage... except it would then also be too wide to get through either of the doors at the shop we play at, and also too tall if we laid it on its side. I was going to have to build it in as few pieces, the biggest chunks I could still move and fit through respective doors, as possible and do final assembly at the store. The other big issue is that I did not have access to a vehicle large enough to haul all these bits around, but that got solved with rental of a Ford Transit at the local U-Haul. Took half a day to get final assembly done, but it is a very solid table and no wiggle anywhere as every join is heavily glued and I used plenty of deck screws. Go for Torx bits, pre-drill your holes, and then drive them with an impact driver (not a hammer drill, impact driver).
 |
| It is heavy and solid. |
 |
| You can stand on this thing. |
It was this point that I realized a few things, but I'll discuss those in Lessons Learned below. On another day, separate from assembly day, I brought the wife in and we stained as much as we could of the visible parts of the wood. I could have gone with a lacquer or a varnish and really sealed the wood, but we had a gallon of a dark stain in our garage from another project rhat never happened and we wanted to use it up. A gallon of good varnish can run you $60, so we were also trying to save some money on the project. Yes, we did not stain but a foot (and half an inch) on each side of the actual top of the table, because the plan has always been to paint the "combat" area in browns, greens, and dark yellows to represent fall ground cover in a temperate climate. I think it came out very good looking.
 |
| Aw yeah. |
 |
| Probably need to do a second coat with the "foliage" colors for the actual play area. |
I did finally get back into the shop (if you have not realized it by now, this project took over a month from purchasing lumber and hardware to what I would consider "finished", due to work and life and everything else) and got two more cross braces put up on the under support and put in more plywood down there as an "under shelf". Remember, this is a standing table, so you don't have to create room underneath for people to slide their legs under it (that's why the legs are where they are in classic four post or trestle style tables), so that under area is just BEGGING to be useful and not just wasted space. I should have planned for a shelf under here from the beginning, but it all worked out in the end. Once I had the extra shelf in, it was another week or two until I could get back, stain the newly laid wood, paint up the "battle area", and then seal the entire top surface with two coats of polyurethane. My wife helped with all the staining and sealing, and both the stain and the polyurethane were found in our garage, bought years ago for forgotten projects, but now finally getting pulled out and used. To get a randomized, more natural looking foliage pattern I used three cans of spray paint (green, brown, and a light orange/dark yellow), laid down a good amount of green but didn't cover everything in green, then put down slightly less brown but still trying to fill in the bare spots where there was no green, and then highlighted (read: randomly sprayed here and there) with the yellow/orange. Not only am I not a carpenter, I am not an artist, but I think this worked pretty well and looks random enough that it emulates natural terrain enough for our Central-Eastern European battlefields. No, I did not want to get all fancy and make a surface I could swap out, if we do lean heavily into the Oil Wars or Fate of a Nation books, we'll just have to squint really hard and pretend it's a very verdant patch of the Middle Eastern deserts.
 |
| The table stretches a long way out there, doesn't it? |
 |
| You can see the one foot by four feet "utility" patch in use at each end of the table. |
And that's it. The above pictures were taken not immediately after I painted it (the polyurethane was still very wet over the painted portions and very much soaked in and dried over the stained portion of the wood, and I could not wait around for it to dry) but at the first game I got to play on the table, weeks after we finished the table. You can read that BatRep and see the accompanying pretty pictures here.
Lessons Learned - number one, always measure your lumber. I hope we all know that dimensional lumber (2x4s, 4x4s, 2x6s, etc) are not actually those dimensions. Sure, a 2x4 starts as a rough chunk that is two inches by four inches, but it is rough and has so many splinters that it will tear you up if you don't finish it. So before you buy said 2x4, it gets sanded and rasped until it is roughly 1.5" by 3.5". And the boards I bought for this project were actually 1 and 7/16th inches by 3 and 3/8th inches. I remembered to measure that part to verify, but what I didn't know was my plywood top was not actually four feet by eight feet, it was actually 4 feet and half an inch by 8 feet and half an inch. I built my legs and frame with the idea the 2x4s would be directly under the top, flush with the top edge, but I've got roughly a quarter inch overhang all the way around, which I didn't find out until I put the top onto the frame and legs... and all the wood glue I had put down to more permanently affix said top. Yes, I could bring my circular saw and shorten up the edges, but we can't get the table out of the store in one piece, and neither me nor my comic store owning friend want to spray the inside of his store with that much saw dust.
Second Lesson Learned is the furring strip lip I put around the entire edge of the table. This is such a game changer for a gaming table, we can roll dice with impunity on the table itself and not worry about having to chase dice across the floor. But if I had my druthers, and had gotten the top flush with the underlying support 2x4s, I would change the 1x2 furring strip out for 1x3s. Probably square edge base boards, as those are meant to be seen, and not furring strips, as those aren't finished very well as they are meant to be hidden behind things like sheetrock. The extra inch on the height I would use by overlapping both the 2x4 and the edge of the plywood top, giving more strength to the lip itself and just a little bit more height over the 1x2 furring strips.
Third Lesson Learned is write down your final measurements. I measured my 2x4s and instead of being one and a half inches wide like most 2x4s are supposed to be in final form, my 2x4s were one and seven-sixteenths inches wide. This mattered on my cross braces as I was putting the cross braces between the 2x4s running the entire length of the table, and I wanted them to be snug and still be 48 inches across the short side, flush with the short edge of the plywood top (that part didn't work, see above). So instead of 45 inches (48 minus 1.5 minus 1.5 equals 45), the cross braces needed to be 45 and an eighth (those two missing sixteenths add up to an eighth). Of course, I did this all last minute just before I cut four of my 2x4s up for cross braces (two on each end, two under the top, and two more on the lower bracing. When cutting lumber, it's always a good idea to cut some off the end of the piece to get the most square end, measure from their and make your cuts. Trying to remember I needed to measure 45 and an eighth, plus the squaring cut, I managed to cut one of my boards to a length of 44 inches and some odd fraction. Why? Because it was all a jumble in head of how I got there - one sixteenth and one sixteenth equals one eighth, now did I add or subtract that? - needless to say I messed up, and it is always easier to subtract wood from a carpentry project than it is to add wood back. This was not a total loss, as I left out the missing board from the lower braces, where I wasn't planning on needing the vertical support, merely the horizontal tie to box out the frame and provide more rigidity.
Which brings us to the fourth Lesson Learned - I should have planned from the start to put a thinner plywood board on top of the lower braces as a storage area from the start. Not that you can see it in the pictures above, but I assure you I went back and added it, as well as another pair of 2x4 braces underneath. This table is solid, there is no reason to not go ahead and plan for a second shelf as a storage area from the beginning. And yes, the under shelf is noticeably thinner and less expensive than the one used on the top, why not go with the thinner sheet as the table surface as well? I wanted the sheer weight and thickness of the top because it is going to be used roughly - metal miniatures getting dropped haphazardly on the table, people leaning on it, that sort of thing. For sure the storage shelf underneath will get much use, but not quite as much or as often, so the 15/32nd plywood will suffice there. And because I am not putting a lip or a veneer around the edge of the shelf, I had to spend extra time sanding the outside edges to make it smooth, saved a small amount of time by going with the thinner sheet. As I already had the top on the table, along with the upper cross braces, when I did put the under shelf on, I had to cut the plywood into 4 sheets, as well as putting in cutouts for the legs. After getting it in, I like it.... but I think I could have spent double what I spent on the 15/32 sheathing and gone with a 23/32 hunk of plywood instead. Fortunately, when I was cutting all the leg notches and sanding the 15/32nd piece, I thought it felt a bit flimsy, so I only screwed it onto the table base instead of gluing and screwing. I'll see how it lasts and if it breaks (long boxes full of comic books weigh more than you think) I'll simply upgrade to the 23/32nd sheathing and glue that down as well as screwing it.
Onto Lesson Learned Numero Cinco - my original plans for this table called for using a roundover router bit on all the likely edges that someone may grasp. If I had left the edge of the plywood uncovered, this would have been a good idea, but even just edging the plywood with furring strips - which are not meant to be used where they are visible and are much rougher than the rest of the dimensional lumber - and a quick pass with some 220 grit sandpaper was plenty to keep everything touch friendly. The 2x4s and 4x4s definitely didn't need the roundover, as they come finished enough the sandpaper kiss was sufficient. And note I didn't cover this table with a varnish or lacquer that would encapsulate the wood, lock away the rough under a layer of smoothness, no, it just got stained for the majority of it, and painted for the gaming surface. If you do decide to varnish or lacquer your wood, make sure you do it somewhere with good ventilation, as those two substances off-gas like nobody's business.
Lesson Learned number six - I shopped for all of my lumber and hardware at the big blue box store (as opposed to the orange one) because I get a military discount and I also have their charge card because it saved us some money on replacing a water heater recently. For screws and glue, that worked perfectly well, but I'm kicking myself for not even considering the smaller (read: not nationwide chain) lumberyard. I'm afraid to go look and see but I'm betting that the quality of all the lumber would be better and while the price might be better, it'd be worth it just in the improvements of quality and appearance. And speaking of glue, years ago I had gotten into watching many YouTube videos about carpentry and thought I was going to build a proper workbench (never did) after putting up some shelves in the basement (which did happen). If you've watched any of those videos, the gluing techniques are... something to behold, but having watched all of that, and convinced I was going to do all this work, I bought a full gallon of decent glue and a GluBot bottle/applicator. Which I filled once and then never used all of that glue, which has now dried enough I need to buy some paint thinner and get it out of the GluBot and just throw away the remains of the gallon jug, because it isn't worth rescuing. But didn't you glue this table? Yes, I did, because I bought a $5, 16-oz bottle of Titebond Original Wood Glue, and it had plenty for the whole table. It even came with its own applicator tip so I didn't need the GluBot! I still have some left over. Yes, I know the GluBot and a full gallon of Titebond aren't that much more expensive, but unless you have plans for further projects after this one, save yourself the hassle and the space in your work area and just buy a small bottle of the stuff.
Lesson Learned number seven - projects like this are scary to contemplate, but the sheer satisfaction of having something like this to play on after you're done, it really is a great feeling. Plus my friends keep telling me how much they like it, and while I try to remain humble, the ego boost is immense. If you want to do a project like this, or get into model painting, or making your own terrain, or building your own gaming computer, or getting into 3d printing, or drone racing, or any other hobby, there is so much more access to information and tutorials and plans than there ever has been, not to mention that the internet and stores like Harbor Freight have made tools and material much more affordable. It is a fantastic time to stretch yourself and try a new hobby or even new aspects of a current or past hobby. Remember, none of us are producing results that are award winning right out of the gate, and while that is an admirable goal to strive for, just so long as you and your friends can get together and have fun doing whatever, how pretty your minis or terrain or even your gaming table is a distant third consideration. Your friends aren't going to stop talking to you if you make a table that is not quite as pretty as the fancy ones that cost upwards of $10,000, they're going to appreciate that you have put in the effort to make the fun your group is enjoying just that much more pleasant. Like I said earlier, "I'm an idiot and so can you!"
That's it for this post, hope everyone is having a good week, and you get a chance to go play games with your friends.
No comments:
Post a Comment